Installing louvers wall panels can be a rewarding DIY project that enhances the aesthetic appeal and functionality of your space. With a bit of planning and the right tools, you can achieve a professional-looking installation.
This guide provides a step-by-step approach to help you with your DIY louvers wall panels installation.
6 Steps to Follow In Louvers Panels Installation :
1. Planning and Preparation :
Assess Your Space :
Before starting, assess the space where you plan to install the louvers panels. Measure the wall area to determine how many panels you’ll need. Consider any obstacles such as electrical outlets, switches, or vents that may affect the installation.
Choose Your Panels :
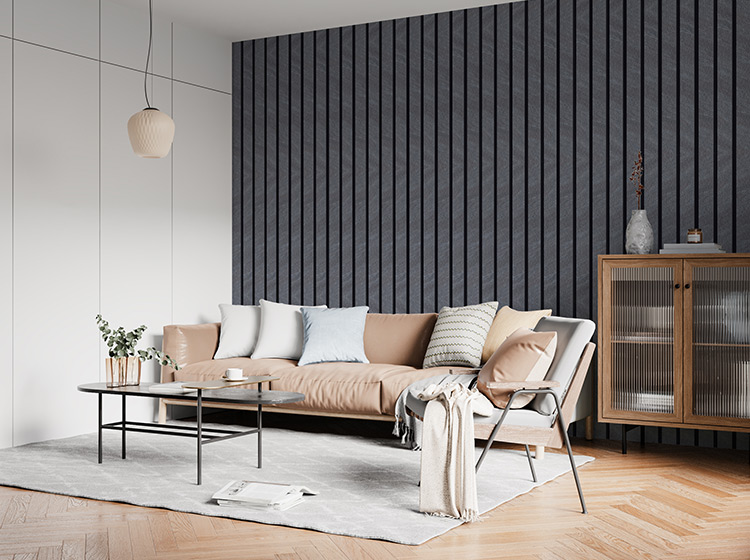
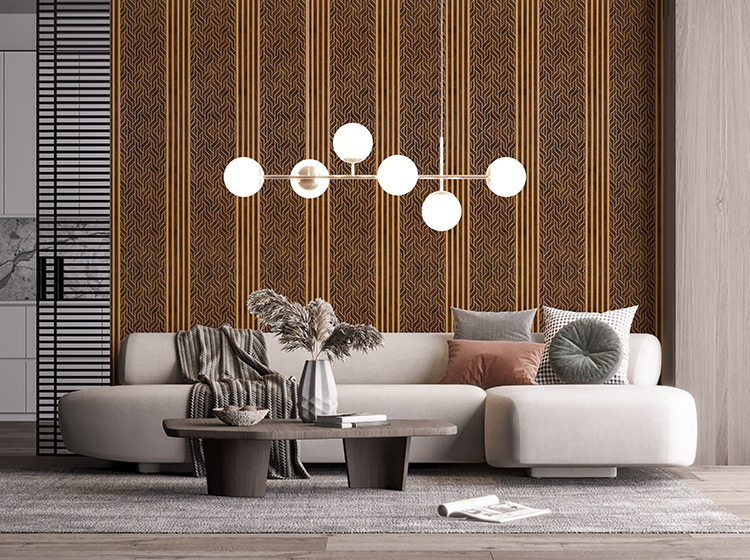
Select the louvers panels that best fit your design needs. Louvers panels come in various finishes. Ensure the panels you choose are suitable for the intended location, whether it's an interior or exterior wall.
Gather Tools and Materials :
Collect all necessary tools and materials before beginning the installation. Typical tools include a tape measure, level, pencil, drill, screws, wall anchors, and a saw (if cutting panels). You may also need adhesive, depending on your installation method.
2. Preparing the Wall :
Clean the Wall Surface :
Ensure the wall surface is clean, dry, and free of any debris or dust. If the wall has been recently painted, allow the paint to dry completely before proceeding.
Mark the Layout :
Use a tape measure and pencil to mark the layout of the louvers panels on the wall. Start by marking the top edge and the bottom edge of where the panels will be placed. Use a level to ensure your marks are straight and even.
3. Cutting and Fitting Panels :
Measure and Cut Panels :
If necessary, cut the louvers panels to fit the dimensions of your wall. Measure carefully and use a saw appropriate for the panel material.
Test Fit Panels :
Before attaching the panels, do a test fit to ensure they align properly with the marks on your wall. Make any adjustments as needed to ensure a snug fit.
4. Attaching the Panels :
Prepare the Wall for Installation :
If your panels require screws, mark the locations where the screws will be placed. Drill pilot holes into the wall at these locations. If you’re installing drywall, use wall anchors to ensure the screws have a secure grip.
Install Panels :
Position the first panel against the wall, aligning it with the marked edges. Secure the panel using screws or adhesive, depending on your installation method. For adhesive installations, apply a consistent bead of adhesive to the back of the panel before pressing it against the wall.
Ensure Level Installation :
Use a level to check that each panel is installed straight. Adjust as necessary before securing the panel completely. Continue this process for each subsequent panel, making sure each one aligns with the previous one and follows the layout markings.
5. Finishing Touches :
Seal and Finish :
Once all panels are installed, check for any gaps or irregularities. Fill gaps with caulk or a suitable filler to create a seamless appearance. For wooden panels, you may also need to sand and paint or stain the panels to match your desired finish.
Clean Up :
Remove any excess adhesive or marks from the installation process. Clean the area and dispose of any debris or leftover materials.
6. Final Inspection and Adjustments :
Inspect the Installation :
After completing the installation, inspect the entire wall to ensure all panels are securely attached and properly aligned. Check that all edges are flush and there are no gaps or misalignments.
Make Adjustments :
If any issues are detected, make the necessary adjustments. Tighten screws, apply additional adhesive, or make any other corrections to ensure a professional finish.
Conclusion :
Installing louvers wall panels as a DIY project can significantly enhance the look and functionality of your space. By carefully planning and preparing, following the correct installation steps, and paying attention to finishing details, you can achieve a high-quality result.
This guide provides a comprehensive approach to installing louvers panels, allowing you to enjoy the benefits of a stylish and functional wall feature. With the right tools and a bit of patience, you can transform your space and achieve a professional appearance with your DIY installation.